After a long period of not attending any markets (to focus on The Makers’ Hub, which I’ve now closed), I decided to dip my toes back into the market stall game a couple of year ago. In the lead-up, I whipped up a shelving display to use at the Show & Tell designer market.
Here’s exactly what I did, so you can make your own, too!
Disclaimer #1: I didn’t measure anything. I eyeballed the levels and lengths, and where to drill the holes, and as a consequence my shelves are a bit wonky. I did this partly because I’m lazy and don’t mind if it’s not perfect, and partly because I wanted to do it quickly. So if you want your shelving to be more accurate and straight, I’d definitely get the ruler and spirit level out to make sure everything is lined up correctly!
Disclaimer #2: The awesome people at Bosch have sponsored this post, and supplied me with the circular saw I talk about. I highly recommend equipping your toolshed with some basic power tools if you’re planning on building anything yourself, and I’m super happy to now have the Bosch hand-held circular saw as part of my arsenal.
You might also like: How to make your market stall setup run like clockwork: easy, fast, on-tim and stress-free – Every time!
Tools:
- Pencil
- Bosch handheld circular saw (quick and easy) OR hand saw (slow and slightly painful, but do-able)
- Coping saw (or use a normal hand saw)
- Drill + Bit
- Mallet or hammer (or other implement you can tap the dowel pieces in with)
Step One: Gather your materials & Tools
I bought a piece of premium ply from Bunnings, 1200mm x 600mm, for $19. I had lengths of pine and dowel already from previous projects, and honestly just used what I had on hand. If you want to copy this project exactly, you’ll need:
- 2 qty – 42 x 19mm x 1.8m Premium Grade Dressed Pine
- 1 qty – Project Panel 1200 x 600 x 9mm Premium Grade Radiata Plywood
- 1 qty – Porta 9.5mm x 2.4m Tasmanian Oak Dowel
Step Two: Cut your shelf lengths
As I said before, I didn’t measure. Once I’d cut one, I marked that length for the next cut, but I messed up the cut anyway, so none of my shelves are exactly the same length =P
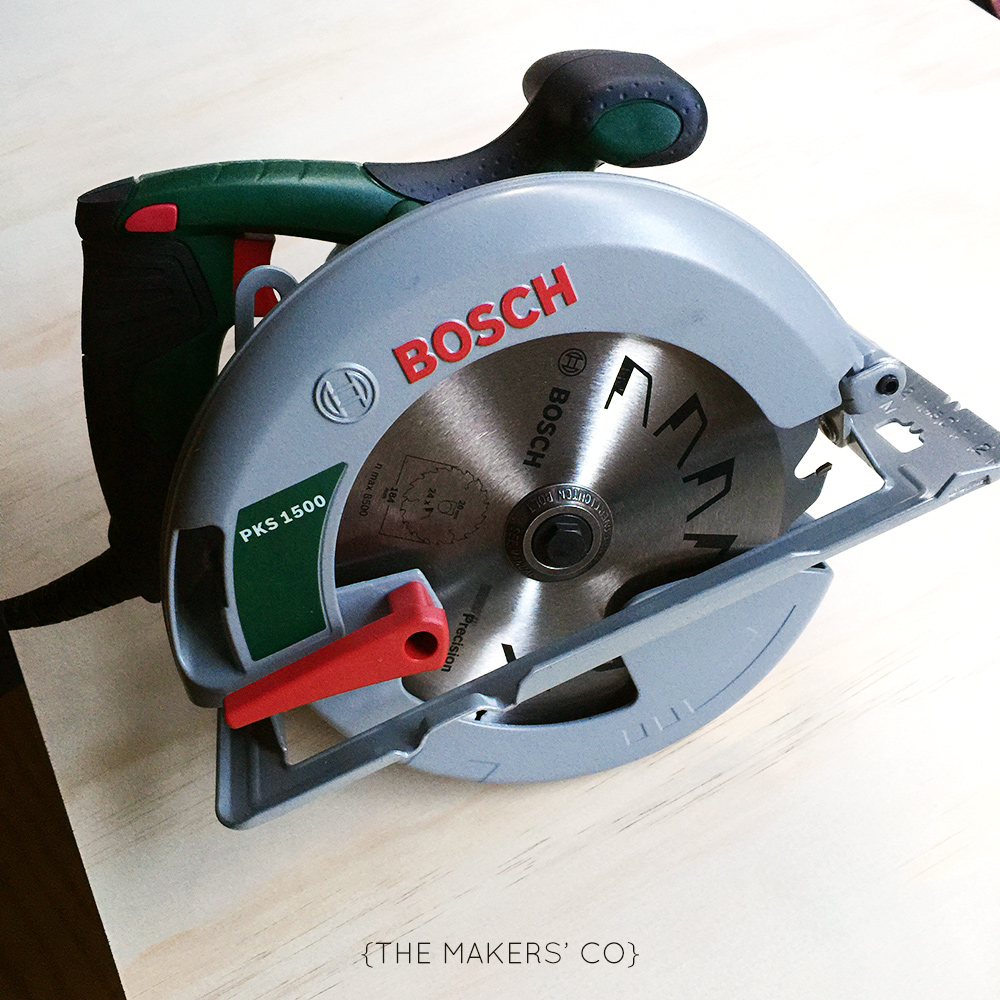
So here’s where I used the Bosch handheld circular saw to cut the shelf lengths… I’ve sped this video up to double speed, but it took me literally 1 minute and 44 seconds to cut about 11 lengths of pine, where as with the hand saw it would have taken me at least 2 minutes per cut. Time saver FOR THE WIN!
This is me turning on and using the saw for the very first time. I had no idea what I was doing (I had read the safety information, of course!), but it was super easy and totally do-able.
Step Three: Mark out your guides
I did this a bit backwards, but my motto always is, just start and I’ll figure it out.
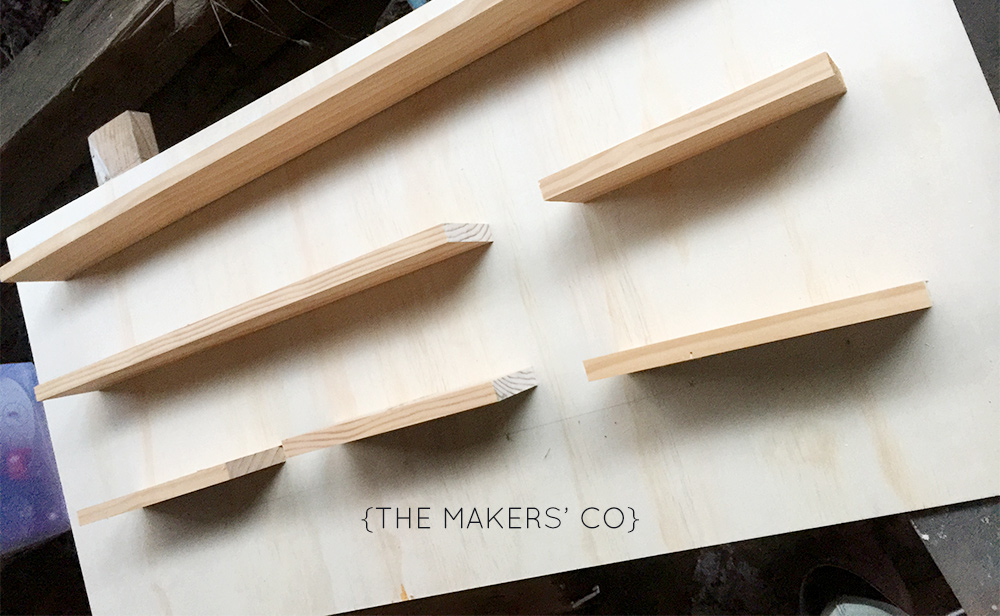
Once I had my shelf lengths cut, I laid them on the ply backboard where I wanted them to go (again, just eyeballing, so if you want your shelves actually straight, use a spirit level and ruler!), marked lines along the board and then marked where I wanted the dowel pieces to go (to hold up the shelves).
Step Four: Drill your holes
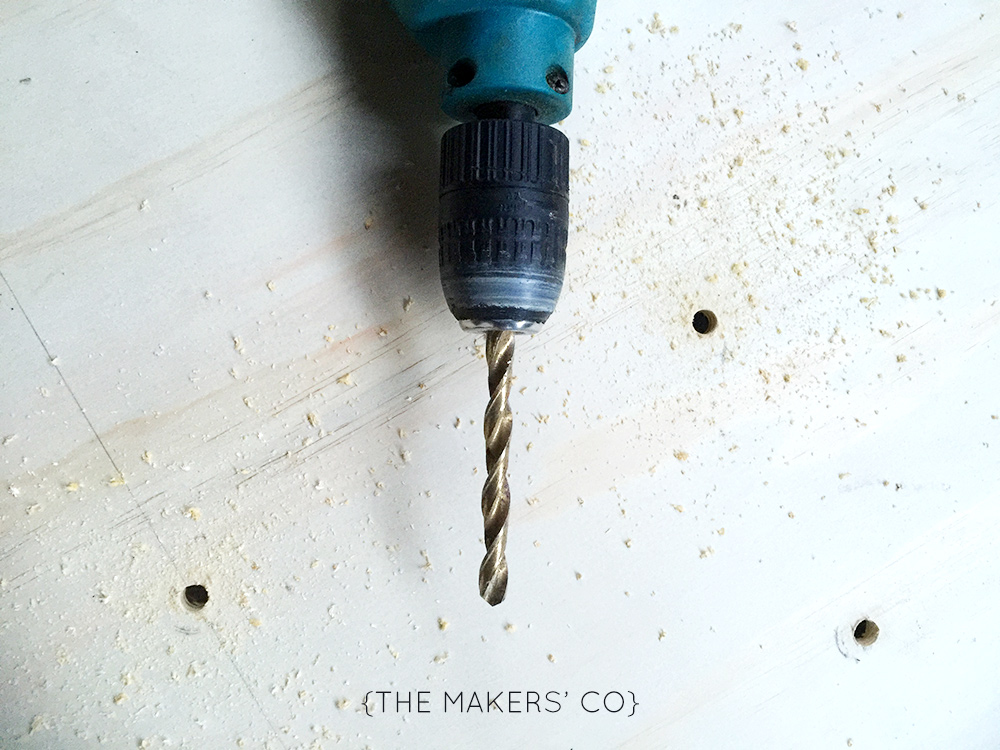
Make sure you match up the size of your drill bit with the width of the dowel you are using (you want it to be a snug fit), and simply drill holes right through the plywood where you want the shelf “holders” to be.
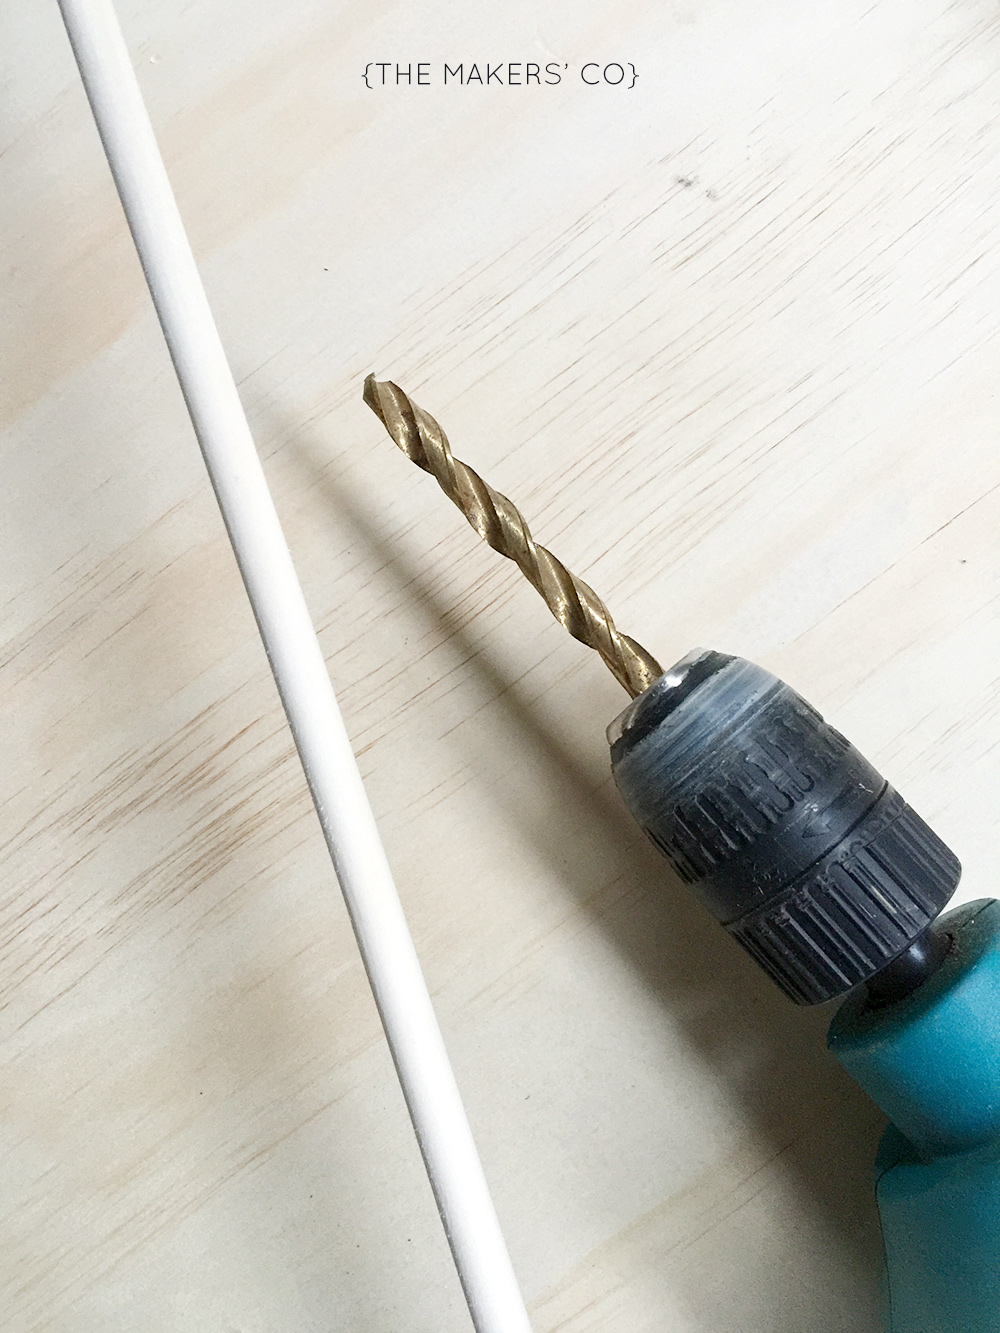
My whole idea around this is to keep the shelving modular, so I can actually take the shelves off and switch them around if I want to. It’s fairly important to get your holes lined up correctly in this step… this is the main reason my un-measured project is a bit crooked!
Step Five: Cut your dowel pieces
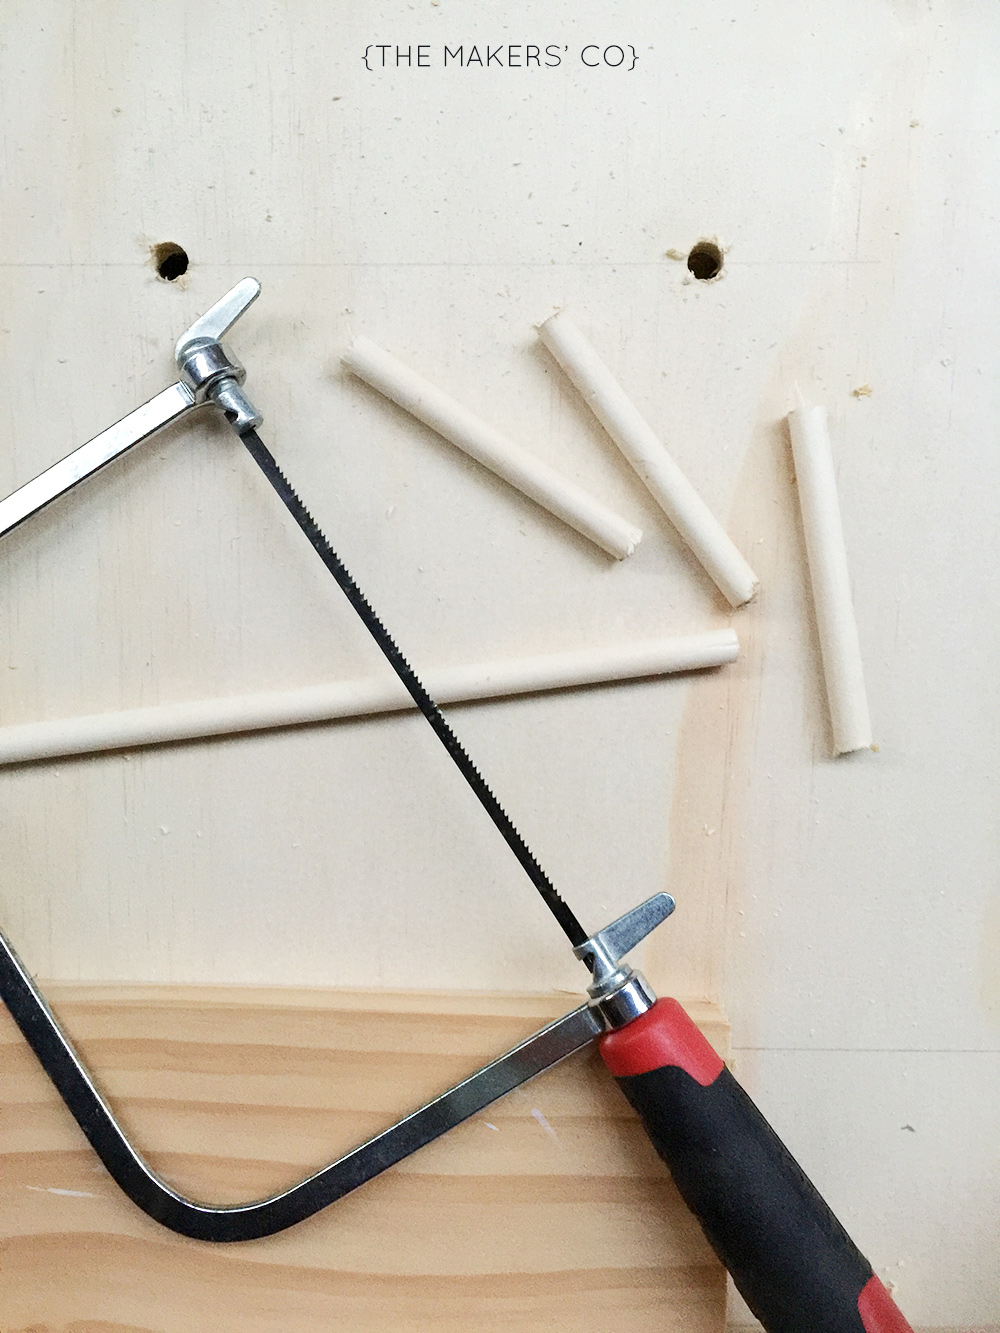
Measure (or not!) the width of your shelves + the width of the plywood backing board, add these numbers together and cut your dowel into as many pieces as you have holes. For this I used a coping saw (nice and light and easy to use) but you could also use a regular hand saw.
Step Six: Tap the dowel pieces into their holes
I haven’t glued mine in yet and I probably don’t need to, they fit really snugly. If your dowel pieces are loose at all, use some wood glue to hold them in place.
Step Seven: Pop your shelves on!
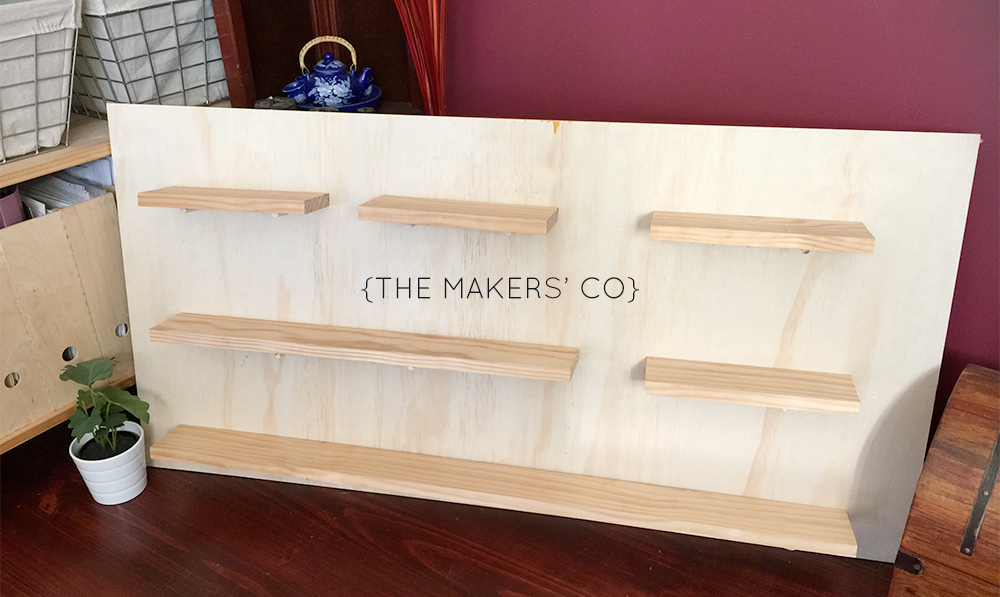
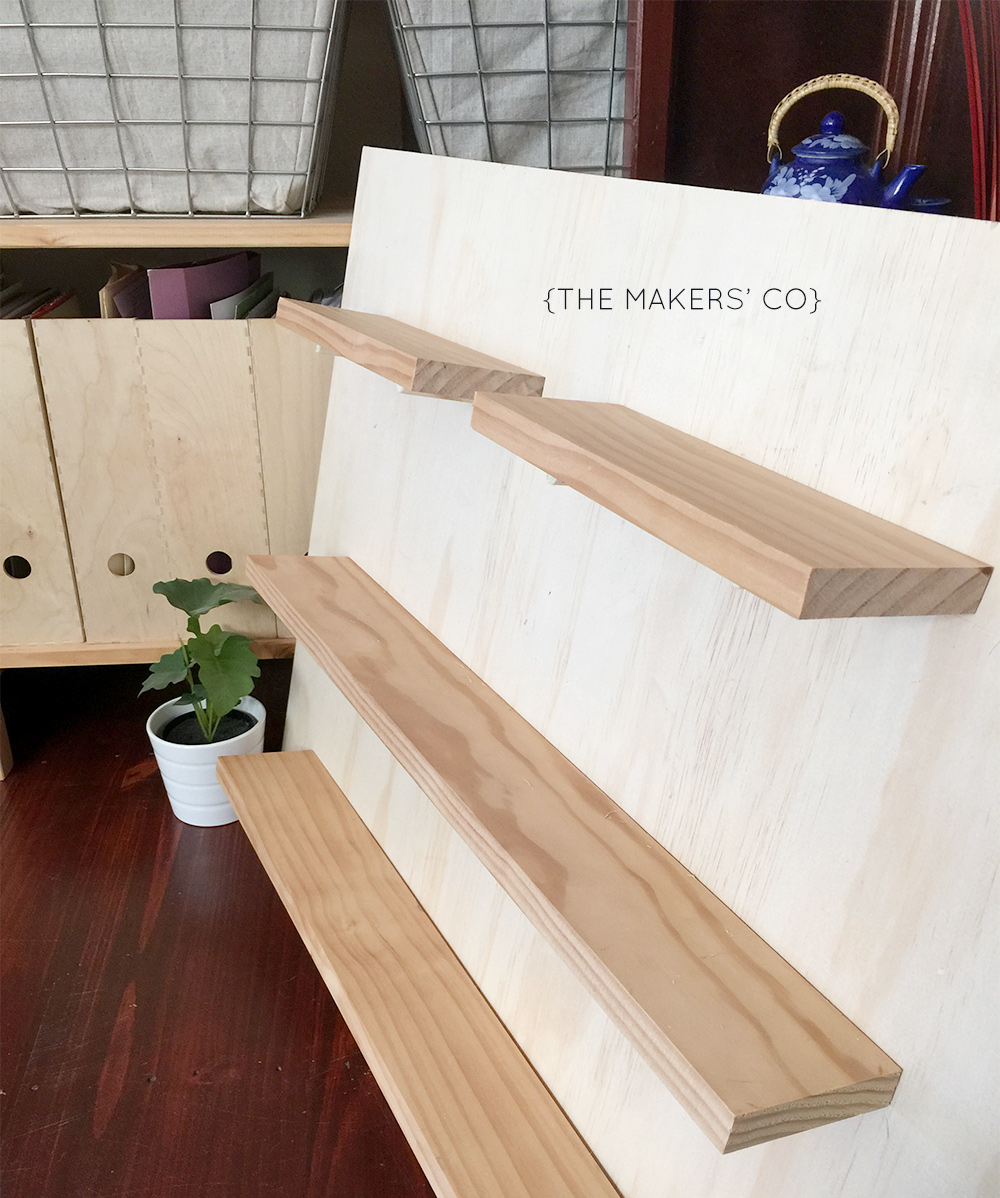
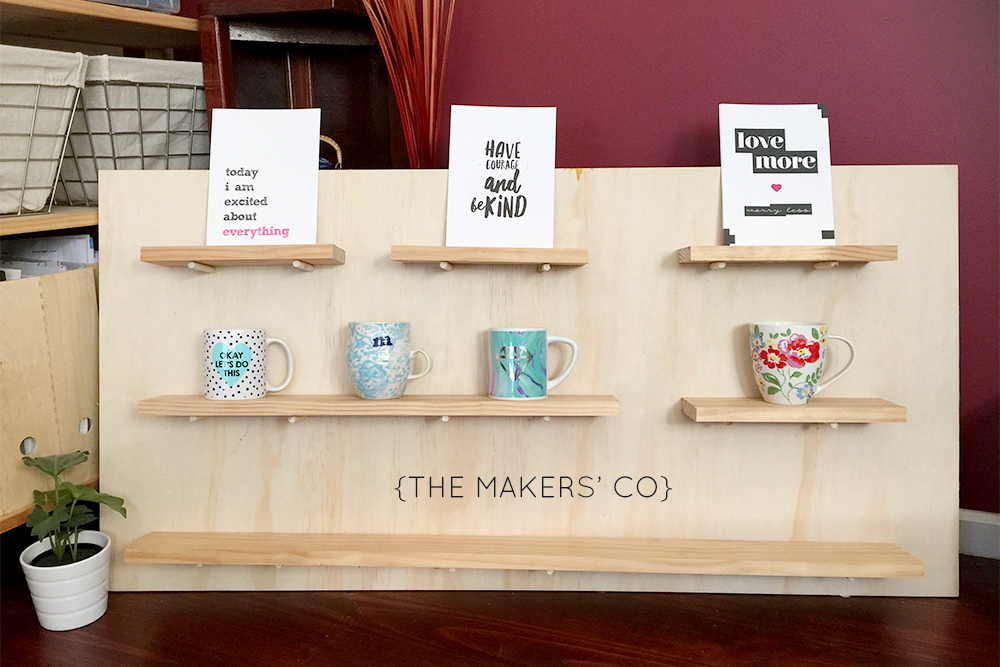
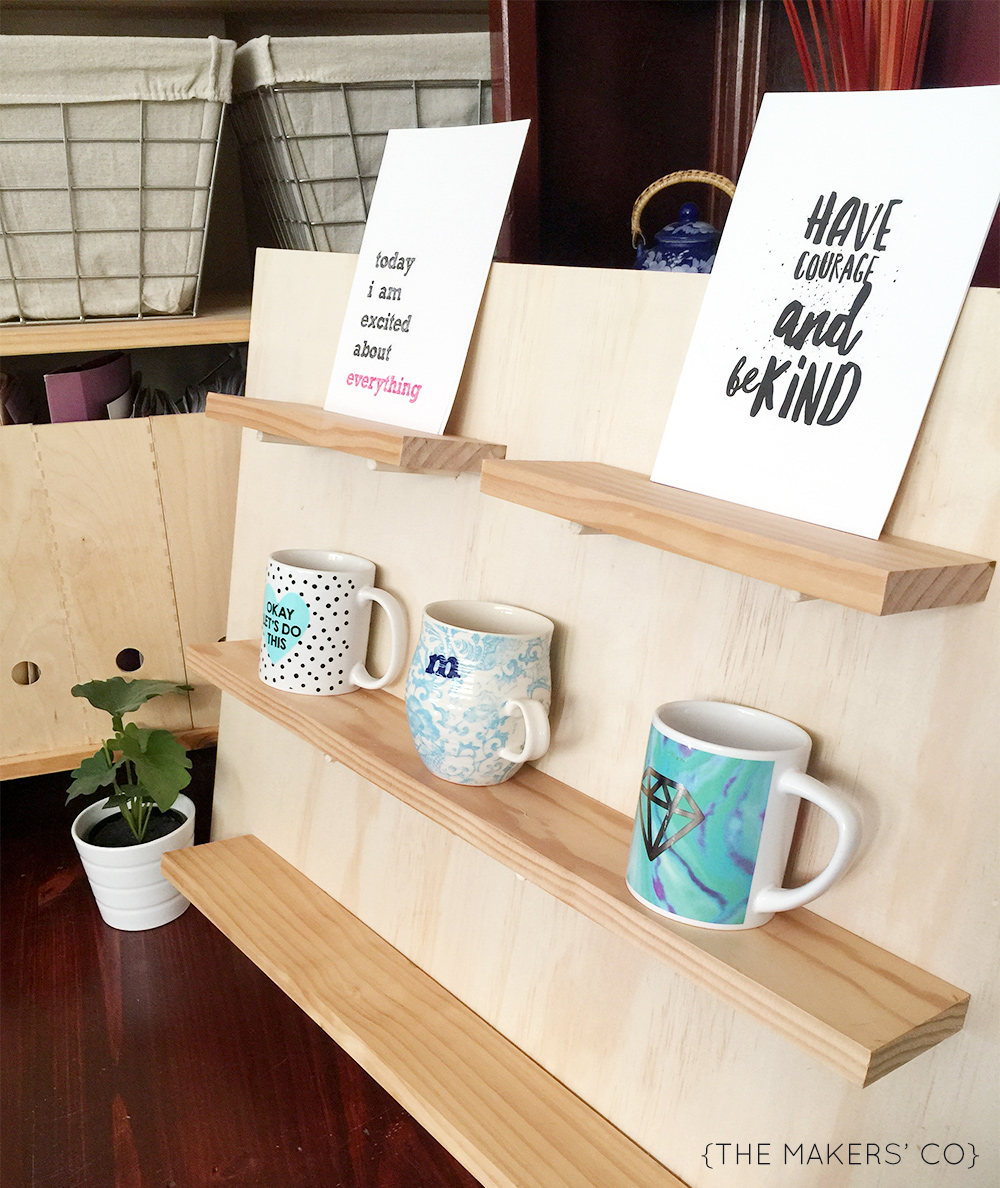
Here I’ve literally just placed the shelves on top of the dowel pieces. If I use the shelves just for display items (with the products to purchase in front of the display, on the table maybe), then I could get away with not securing them. But if people are going to be picking stuff up and looking at them, bumping it around, I’ll need to figure out a way to secure them so they can’t move.
Optional:
I was thinking about painting the pine shelves white, or maybe charcoal, but then JA said he liked them as-is, so I ended up leaving them natural… what do you think?
Afterwards I added a hinge & stand (I picked up a few more materials to do that after writing this post).
So that’s it for my #Winterproject!
Please do let me know if you try this project, I know when I posted the earring display out of old drawers quite a few people gave that a go and I loved seeing the results!
CAN YOU CONFIDENTLY SAY YOU ARE WORKING ON THE RIGHT THING, RIGHT NOW IN YOUR BUSINESS?
Sometimes, even when we are doing all the right things, it can feel like we’re spinning our wheels and not moving forward at all. This could be because you’re focusing on the wrong area of your business – or doing all the right things, but at the wrong time.
