Packaging your handmade products is kind of a big deal for every business. When the packaging is done in a creative and professional manner, it adds value to your products and grows your business for sure. Making customers happy and turning them into raving fans is one of the goals of every business. So in packaging handmade products, how can you create an unforgettable unboxing experience for your customers?
My buddy Deb from Tizzit.co is back with some great tips for your handmade business!
The way you choose to package your products matter because it’s the first thing people notice when they see a product. Packaging matters and it’s in the details and intricacy of the whole thing. Not only are you selling a product, but you’re also selling your brand, you would want to leave your customers with a happy feeling an unforgettable experience. Give them the satisfaction of a nice feeling/looking/smelling first impression of your brand and I can guarantee you that it will last.
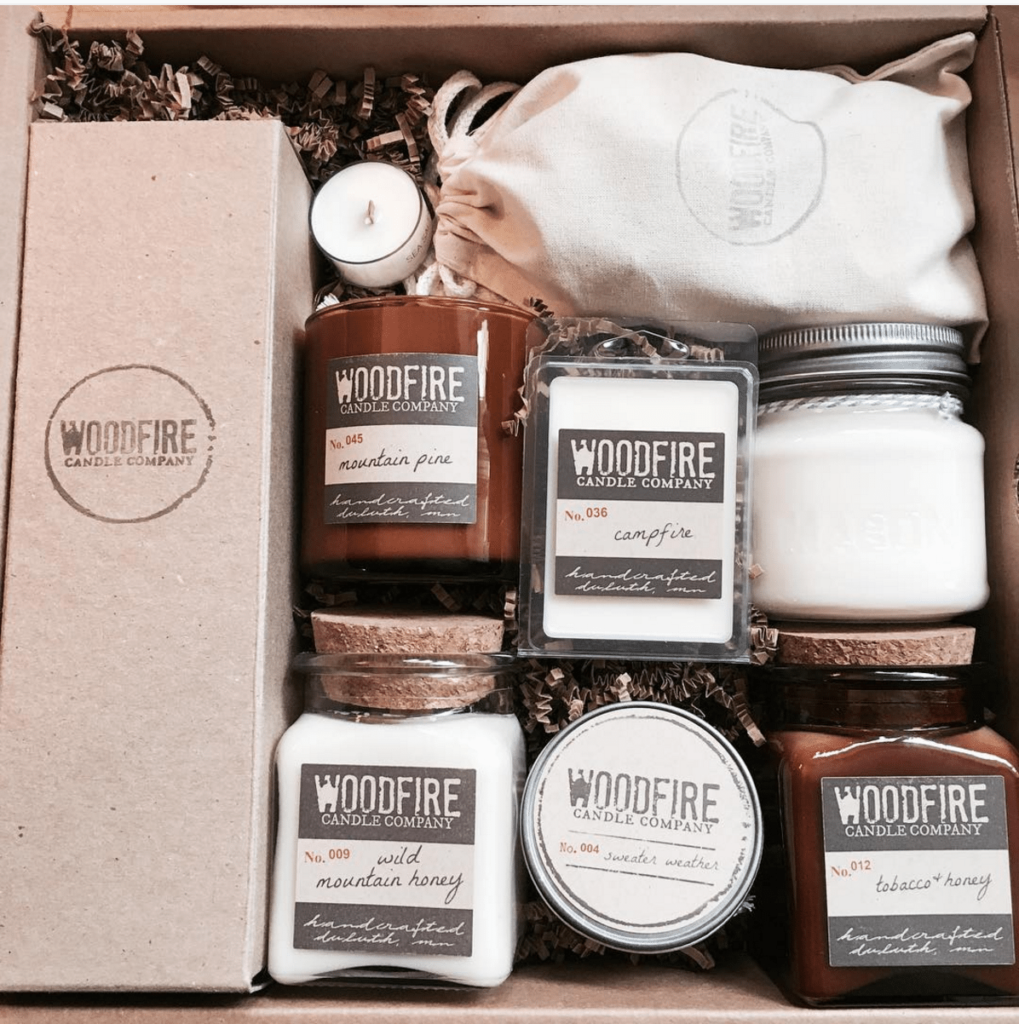
There are 4 packaging elements to take into consideration in order to create a unique unboxing experience. Remember that it should not only add value to your product, but it should also give out a great first impression.
First is the the package that will arrive to their doors- the shipping packaging itself. This is the first thing your customers will see, touch, and open up. If you sell products that vary in size and shape, there are a lot of different options. Let me give you a few examples:
Flat envelopes and flat mailers – great for flat products, prints, artwork, etc.
Cardboard boxes – in all sizes and shapes
Bubble envelopes – great for fragile products
Bags – great to have for trade shows and craft markets
Mailing tubes – for all prints, posters, etc.
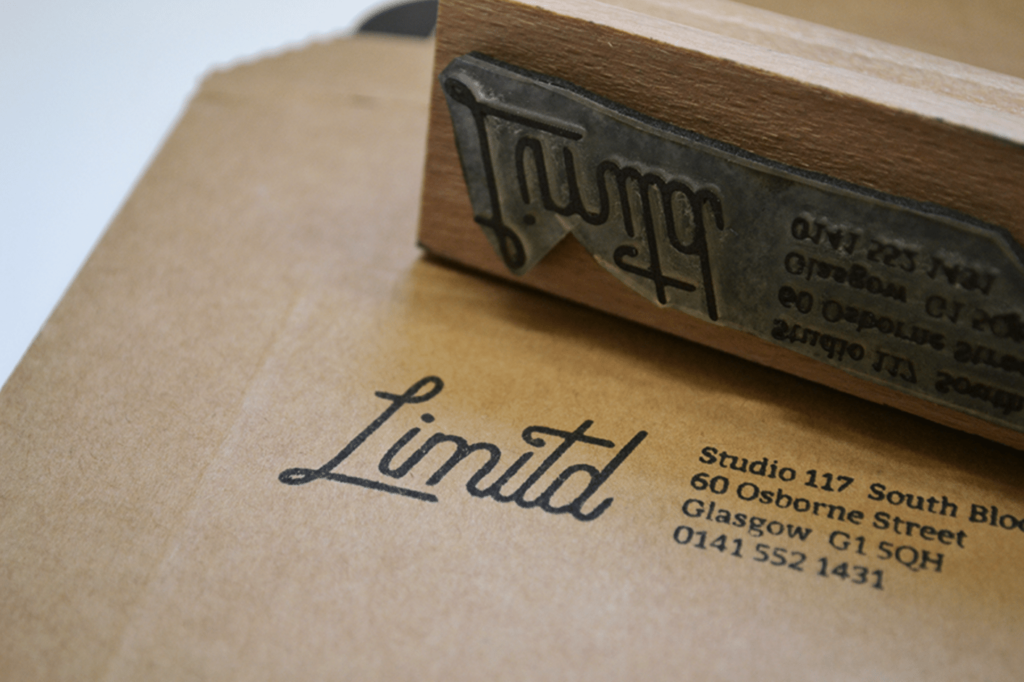
We all know that generally, the shipping packaging is not very pretty. This is where you can differentiate yourself from the rest. By branding your product down to its shipping material and packaging, you can surely create an unforgettable and creative unboxing experience. A few ways to brand your shipping boxes with is to include a custom stamp, stickers, custom mailing labels, custom tape or colored tape that mathces your brand, etc.
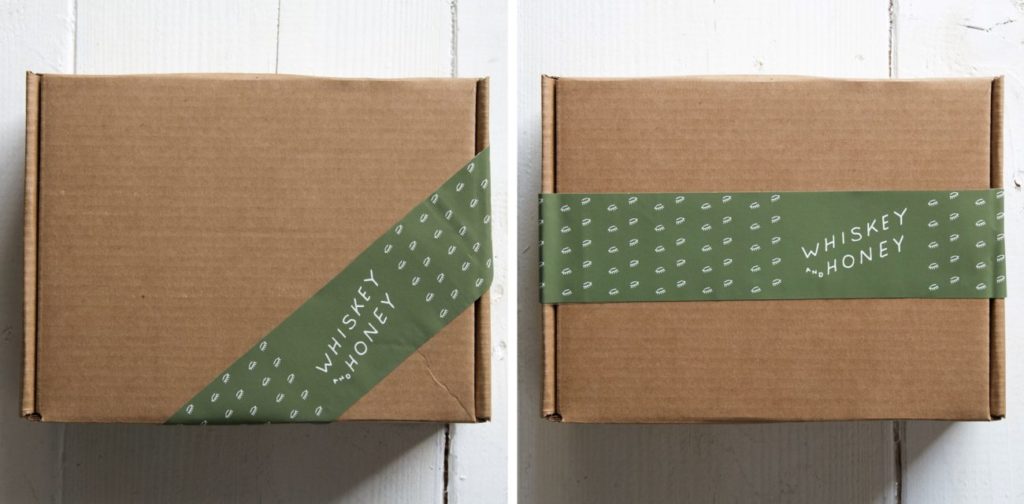
Second is the protection layer which is the next part of the ‘unboxing experience’ for your customer. The protection layer does exactly what it’s called: it protects your beautiful creations from being damaged especially during transit.
There are also variety of options here that you can consider, mostly depending on the size and shape of your product and whether or not your product is fragile.But most importantly it also depends on your brand image. The protection layer isn’t a part of your product, but it is a very important step in the unboxing process. It adds a beautiful layer of texture and I should just tell you please avoid bubble wrapping and foam peanuts (yep, that’s actually how they’re called!), at all costs!
A few examples of protection materials you can consider are shredded/Crinkle paper, wood wool/Excelsior, kraft paper, colored paper; custom tissue paper, anti-Bending cardboard sheets (good for flat prints and artworks), etc.

Third is the promotional material. Including promo materials in your packaging is one the BEST ways to turn your customers into raving fans. It will make them want to shop for your products again. They will rave it about it to their families and friends and surely entice them to buy as well. As you probably already know, it is much easier to turn a customer into a repeat customer than it is to get them to buy the first time around! You need to capitalize on that and the best way is through your packaging.
Promotional elements in your packaging can be a coupon code (15% off your next order, 10% off your next order for you and a friend, etc.), a sample or small gift, a card or note introducing your brand and products, a card or note introducing the maker, fun and branded stickers, a personal note (sending personal handwritten notes is really a good idea especially if you’re still starting out), a social media share/feedback request (eg.: “take a picture of you wearing your product and share it using #yourbrandhashtag” for a chance to win X), and other ways you can think of. (there are no rules here).
The great thing with these promotional elements is that they don’t cost much at all. You could print them on business cards;, square business cards, mini-cards (moo), mini Square or circle stickers, A6 flyers or postcards, etc.
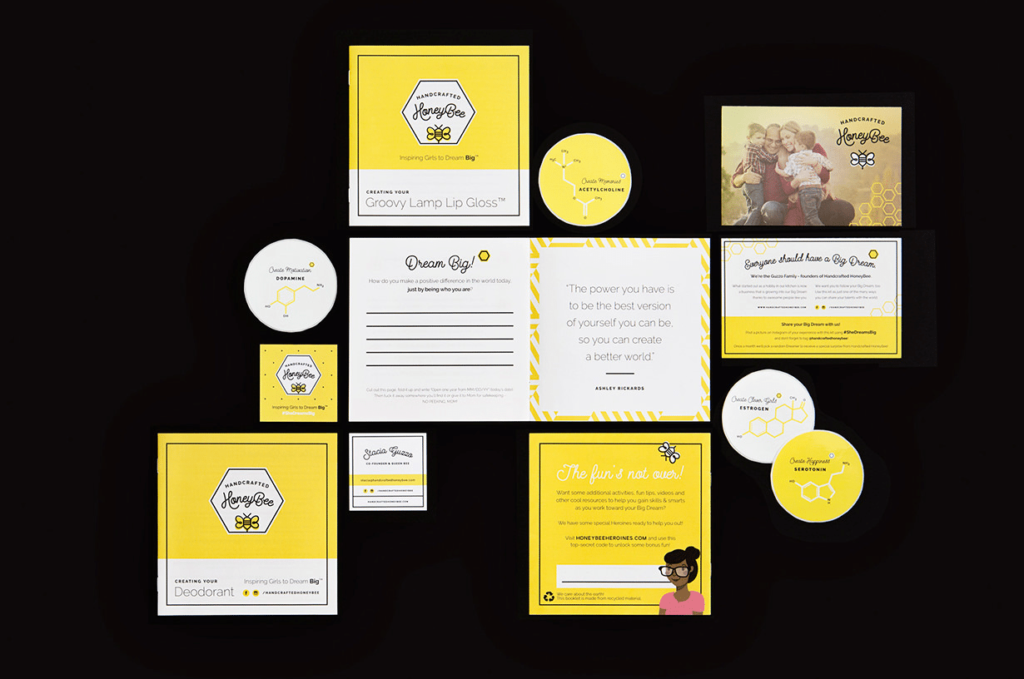
You can head over to Moo and ask for a large free sample pack. It is 100% free and will definitely get your creative juices flowing when you receive it!
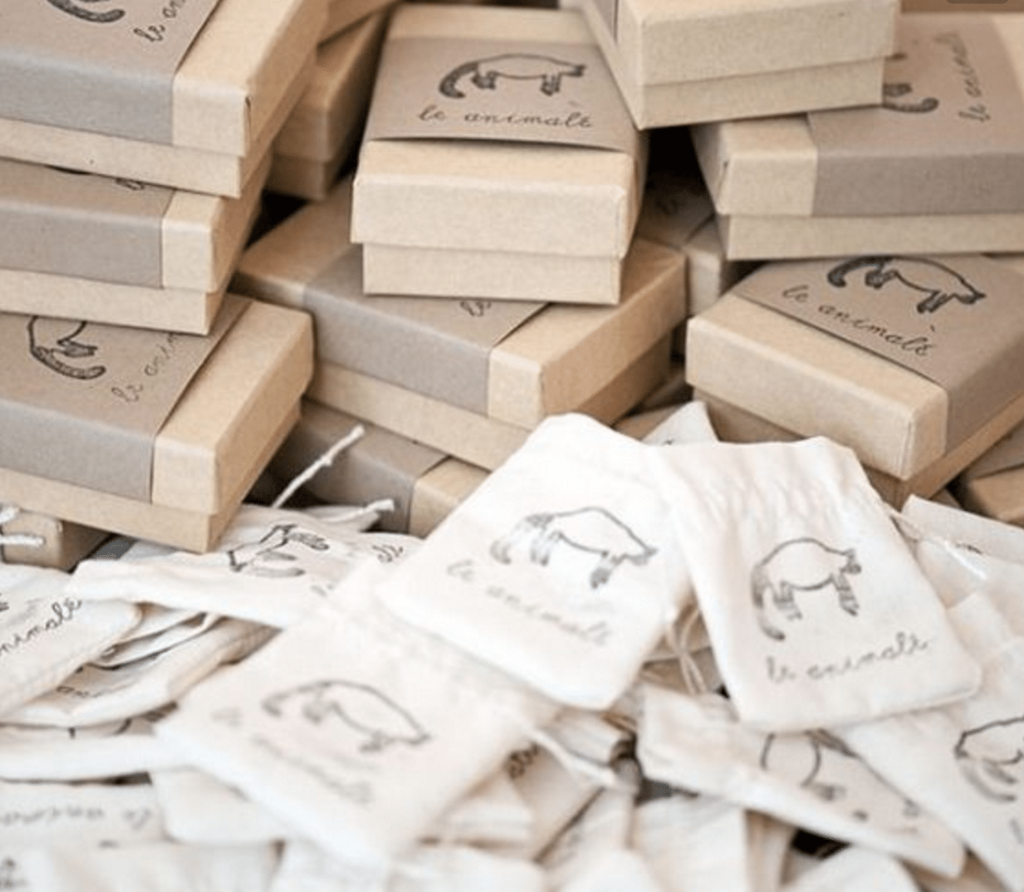
Last but not least is the product packaging. This is the last thing your customers will unbox so have fun and surprise your customers! Be as creative as you can be and make sure it aligns with your brand and product, feel free to think outside of the box here (see what I did there? haaa).
Here are a few examples to get you started:
Muslin/Cotton/Fabric bags;
Gift and cardboard boxes – exist in all sizes and shapes, and would work for almost anything;
Pillow boxes;
Clear sleeves – for flat prints;
Belly band – great for clothes, socks, etc;
Quality wrapping paper – pillows, clothes, etc.;
Tube/tub/jar – for beauty and food;
etc.
Once you finally decide how your product packaging will look, you then have to decide how to make it extra. The best way to do so by adding your branding to it and here are a few ideas to do exactly that:
Stickers;
Custom logo stamp;
Product tags (sewed on or hanging);
Strings, Ribbons, Pompoms;
Washi tape;
Etc.
Let us know in the Makers Co Community Group if you’ve used any of these ideas in your own packaging!

Deb
Founder - Tizzit.co
Deb wants to help you craft a life and business you love by helping you build a profitable online shop to sell your handmade products. She uses the knowledge and skills she has gained from her online marketing background and her years of experience as a graphic and web designer to apply to something she wholeheartedly believes in, which is helping businesses like yours thrive!
