Here’s a quick tutorial on how to trace and digitise your hand lettering or brush script in Adobe Illustrator. In this tutorial you will use the live trace command, the selection tools, ungroup command, make compound path command, smooth tool, edit using anchor points and handles, apply a gradient and use a layer mask to create an image background in the lettering.
When you’re practicing your hand lettering and get a really good word or phrase down on paper that you’re happy with, you’ll want to use that baby again and again! This is a quick and easy way to create a vector file of your hand drawn piece to use across your creative business in branding, products, custom artwork or just for fun in personal projects.

First you’ll need to have something to work with, some hand lettering or brush script, or a simple illustration. A word or short phrase is a good place to start, maybe your favourite quote or the tagline for your creative business!
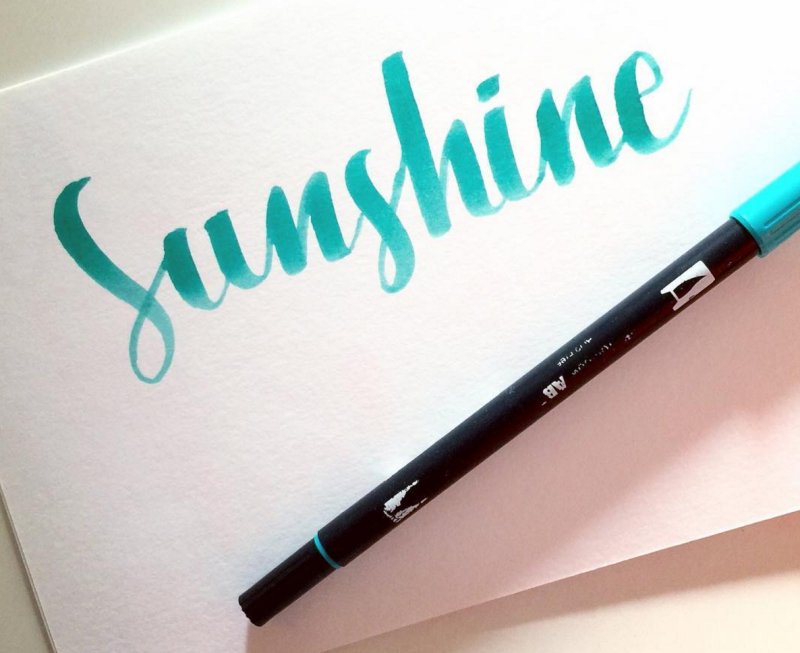
You’ll need to get an image of your lettering onto your computer. Scanning is SO old-school these days, just snap a photo on your phone and email it to yourself, or save it to your google drive from your phone if you have something like that set up already.
Make sure the image you use is ONLY of the lettering you want to digitise, with no props (like the pen in the above image), or crazy backgrounds. Zoom in, and if you can, edit it on your phone before you send it to yourself, so it’s nice and bright with good contrast.
Step One – Place the image in Illustrator
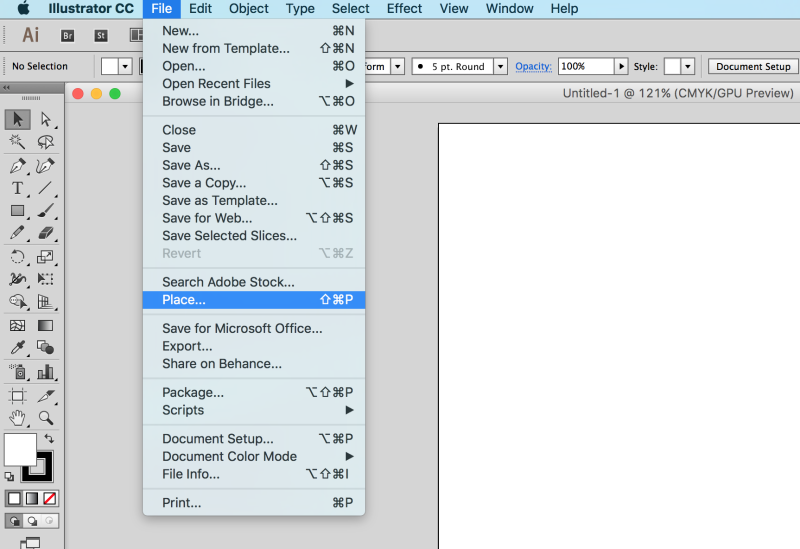
Go File > Place > then choose your image file and click anywhere on the art board to place it.
You may need to resize the image if it’s too big for your art board, just make sure you hold down the shift key whilst dragging one of the corners of the image in, to constrain the proportions
STEP TWO – Select the image and Trace
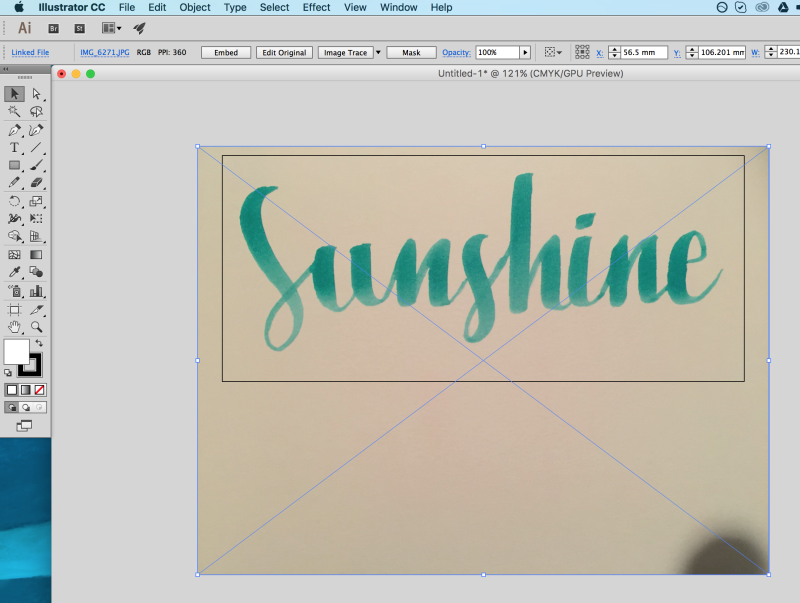
Once the image is selected (using the Selection Tool – black arrow) the appropriate menu appears at the top which includes a button with Image Trace on it. You can go ahead and click that button and see how it turns out, or tweak a few settings, as per below.
STEP THREE – Open Image Trace Panel
If you’re image isn’t the clearest (like my example above), you probably won’t get the best results by using the default trace options.
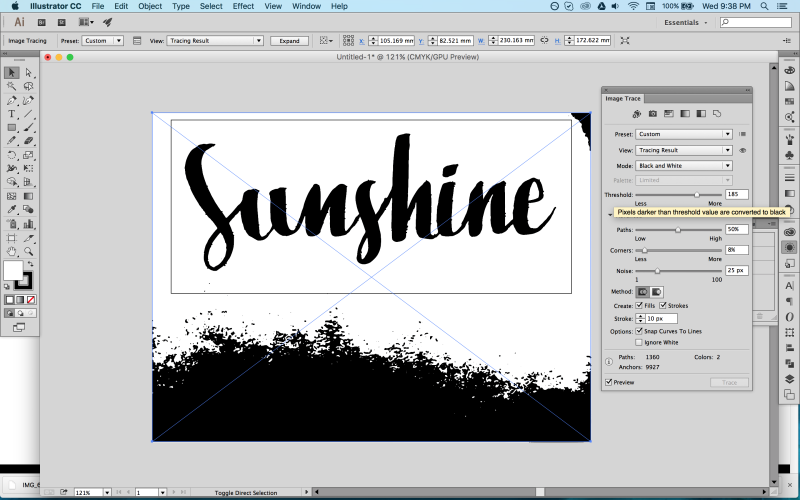
Click on the Image Trace Panel icon (nestled between “Preset” and “View” in the menu along the top) and pop the Mode option on Black and White. You can then tweak the Threshold slider (as pictured below) to get the clearest result you can of your lettering.
Make sure to tick Ignore White so the background is removed automatically for you.
STEP FOUR – Expand
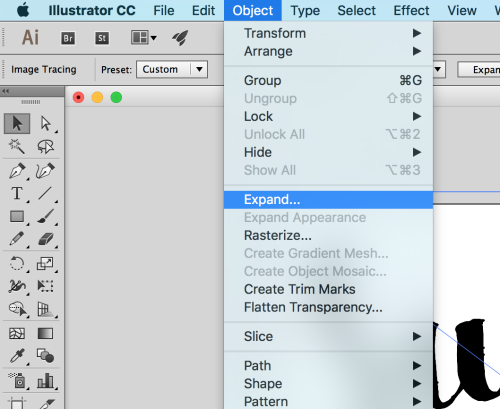
Once you’re happy with the tracing result, go to Object > Expand (or there’s an “expand” button in the same top menu).
STEP FIVE – Ungroup and delete
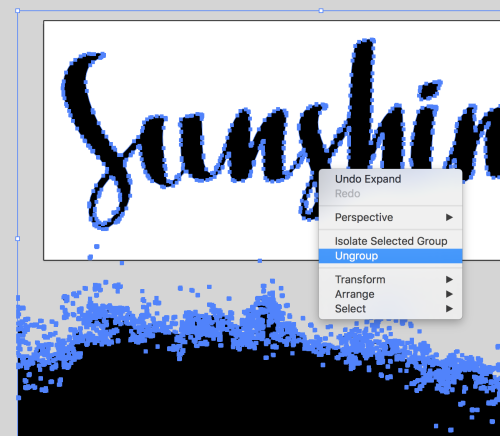
Once expanded, right click and select Ungroup. You might need to do this a couple of times for all the elements to be ungrouped, and once they are, you can select just your lettering to move it, then select and delete any unwanted bits and pieces that might have been picked up in the trace from the background.
You might also be interested in reading: Why your brand should be your priority over Social Media
TIP: To deselect the entire expanded trace use the keyboard shortcut SHIFT + COMMAND + A (on a mac), and then you’ll be able to select just the letters you want with the selection tool (black arrow).
STEP SIX – Smooth curves
The tracing step has more than likely left you with some wonky-edged letters, which can be great if that’s what you’re aiming for, a more organic or rustic style.
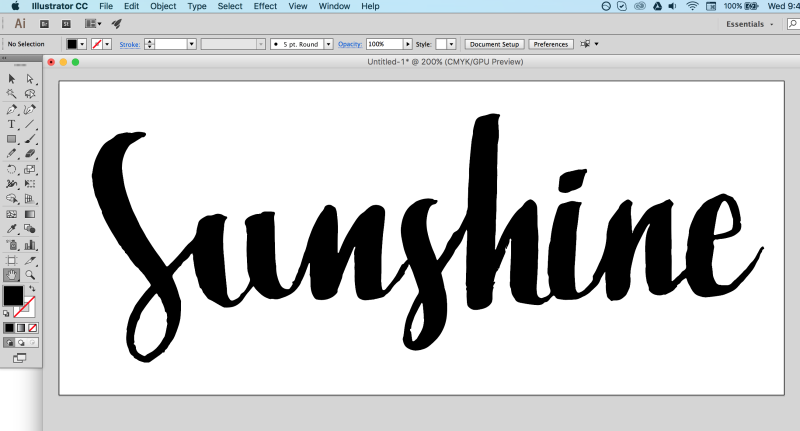
If, however, you want everything nice and smooth, you’ll want to select the Smooth Tool (which hides behind the Pencil Tool) and trace around the edges of all the letters and shapes.
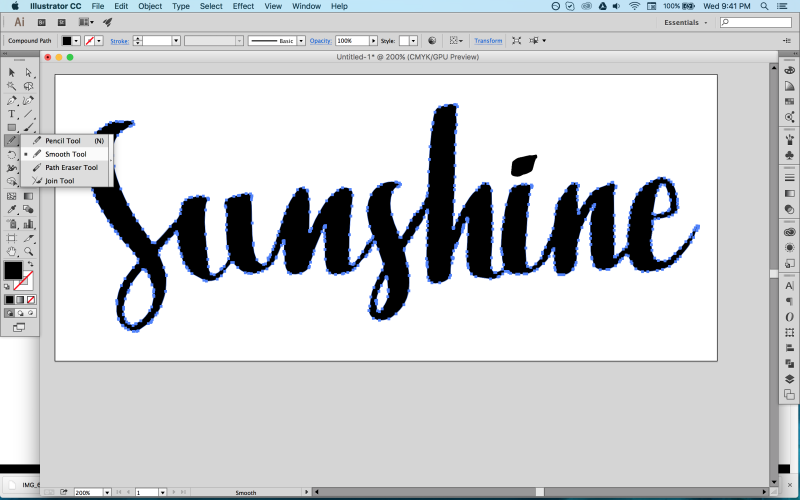
You can do this in shorter sections, you don’t need to do the whole path at once.
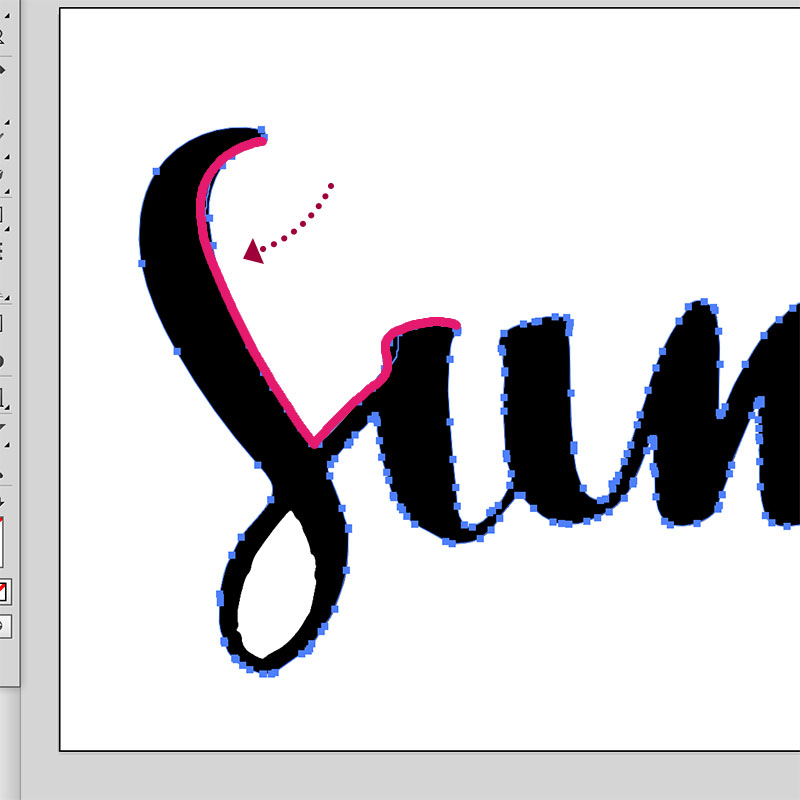
The smooth tool works by removing unnecessary points along a path and ensuring curves are fairly even between each point.
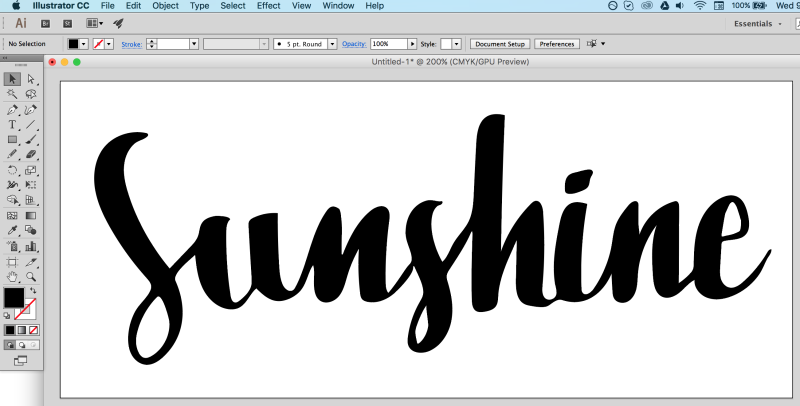
STEP SEVEN – Refine anchor points and handles
To refine the shape of your letters further, select the Direct Selection Tool (white arrow) and click in the very edge of a path.
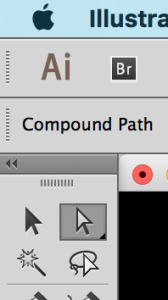
This will allow you to move individual anchor points and it’s corresponding handles (these control the curves) to get the exact shape you want.
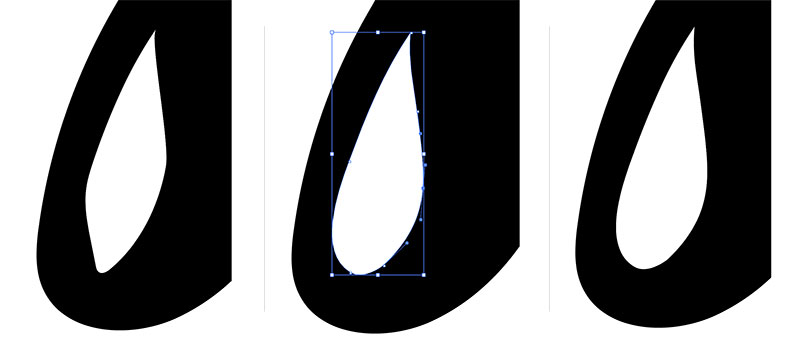
STEP EIGHT – Make Compound Path
Once you are happy with the shape of all the letters and lines, you’re almost done!
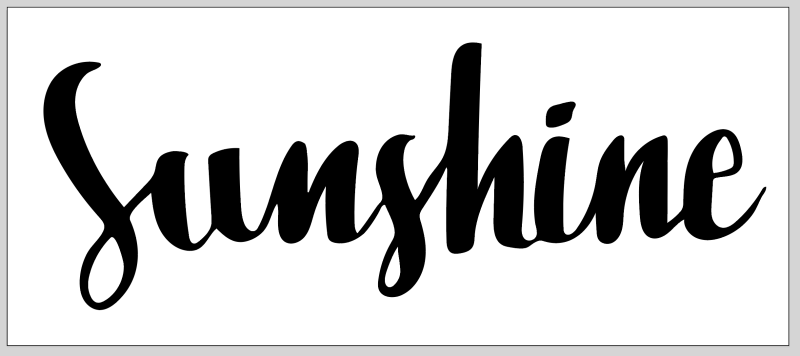
Select the entire word, phrase or illustration by clicking and dragging a box around the entire thing, or SHIFT + CLICK on each individual element, with the selection tool (black arrow).
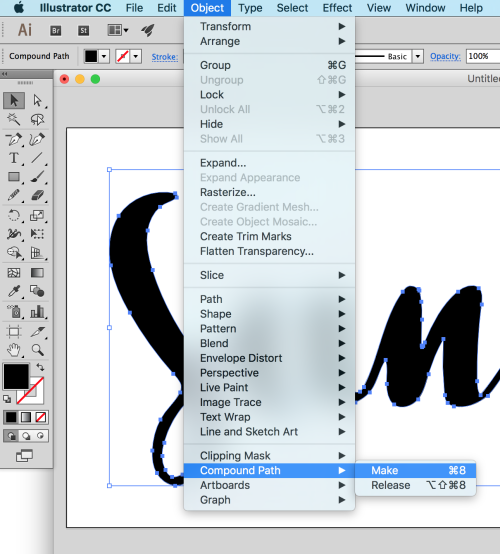
Go to Object > Compound Path > Make
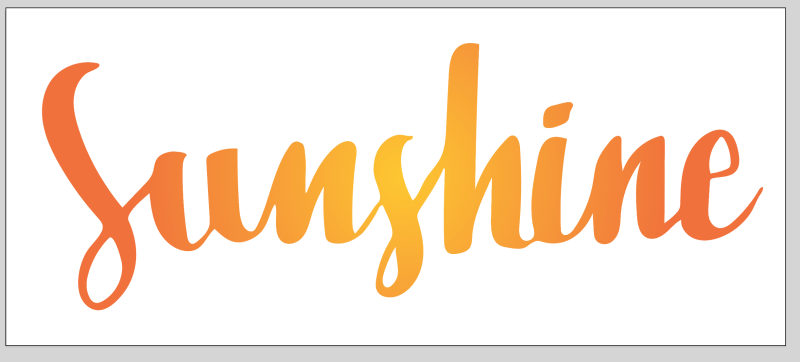
This now means that your word is one shape (instead of individual shapes) and you can apply a gradient across the whole thing:
Or create a clipping mask with an image filling the shape (move your word over an image, select both, then right click and select Make Clipping Mask):
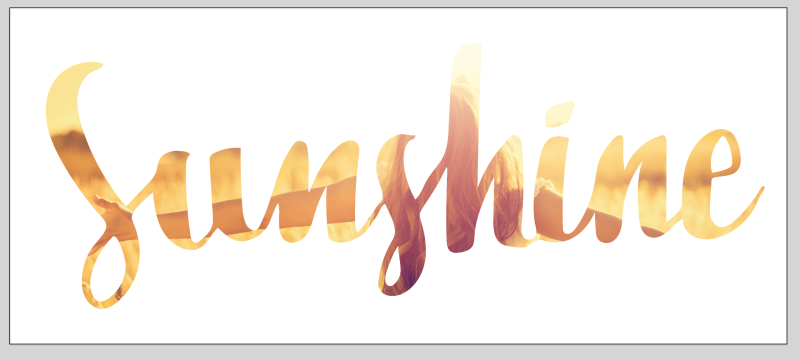
Or place it in simple white over a great photograph (thanks Shutterstock!):

And that’s it! Once you’ve practiced this technique a few times it will become second nature and you’ll be able to trace all your lettering projects in no time at all.
The sky is the limit! What will you do? Make sure to show me or ask any questions in the Makers Co community group!
CAN YOU CONFIDENTLY SAY YOU ARE WORKING ON THE RIGHT THING, RIGHT NOW IN YOUR BUSINESS?
Sometimes, even when we are doing all the right things, it can feel like we’re spinning our wheels and not moving forward at all. This could be because you’re focusing on the wrong area of your business – or doing all the right things, but at the wrong time.
